Most Viewed Articles
- Blogs >
Creation 3-D model
Create 3D Model of Photo
In this article, we will review some of the functions to create a 3D Model of photo . In the first lines, we import the necessary libraries then read the target image from folder.
In [1]:
import numpy as np
import matplotlib.pyplot as plt
from matplotlib.pyplot import imread
from mpl_toolkits.mplot3d import Axes3D
import scipy.ndimage as ndimage

# path of an image
imageFile = 'Downloads/download.png'

# read the image file
mat = imread(imageFile)

# get the first channel
mat = mat[:,:,0]
rows, cols = mat.shape

# numpy.meshgrid returns the coordinate matrices from the coordinate vectors
xv, yv = np.meshgrid(range(cols), range(rows)[::-1])

# blur an image using Gaussian filter
blurred = ndimage.gaussian_filter(mat, sigma=(5, 5), order=0)
fig = plt.figure(figsize=(10,10))

# add subplot
ax = fig.add_subplot(221)
ax.imshow(mat, cmap='gray')

# 3d axes are created by passing the projection=3d
ax = fig.add_subplot(222, projection='3d')

# elevation is set to 90
ax.elev= 90

# plot surface
ax.plot_surface(xv, yv, mat)
ax = fig.add_subplot(223)

# show blur image in gray color
ax.imshow(blurred, cmap='gray')
ax = fig.add_subplot(224, projection='3d')
ax.elev= 278
ax.plot_surface(xv, yv, blurred)
plt.show()
view image

In [2]:
mat.shape
Out[2]:
(281, 179)
PyVista
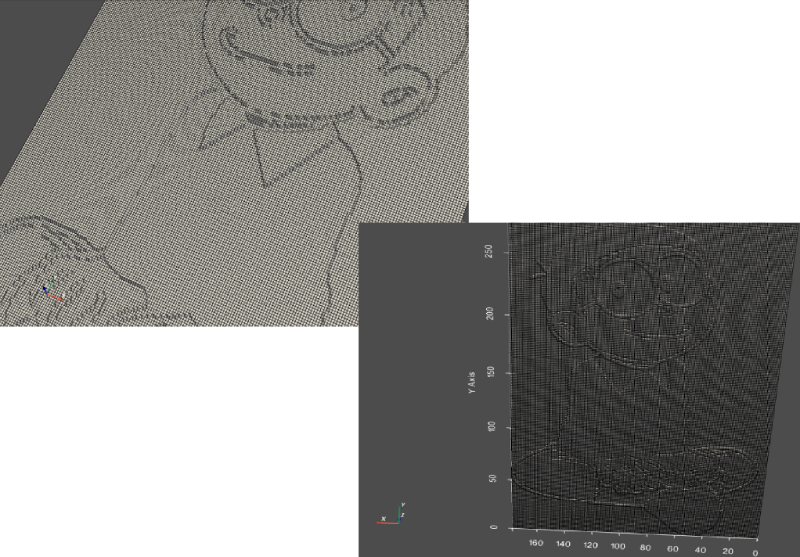
PyVista is a supporting module for VTK. It has a Visualization Toolkit (VTK) which is used for wrapping the visualization toolkit library by using numpy. 2D pyvista.StructuredGrid can be extended into 3D mesh.
To install:- pip install pyvista
In [3]:
import pyvista as pv

# pyvista.StructureGrid(x,y,z)
surface = pv.StructuredGrid(xv, yv, mat)

# Plot surface
surface.plot(show_edges=True, show_grid=True, notebook=False)

# save surface
surface.save("my_surface.vtk")

Conclusion :- We have learned to convert a 2d image into 3d image using mplot 3d. I rotated the image using PyVista library.
Popular Searches
- Thesis Services
- Thesis Writers Near me
- Ph.D Thesis Help
- M.Tech Thesis Help
- Thesis Assistance Online
- Thesis Help Chandigarh
- Thesis Writing Services
- Thesis Service Online
- Thesis Topics in Computer Science
- Online Thesis Writing Services
- Ph.D Research Topics in AI
- Thesis Guidance and Counselling
- Research Paper Writing Services
- Thesis Topics in Computer Science
- Brain Tumor Detection
- Brain Tumor Detection in Matlab
- Markov Chain
- Object Detection
- Employee Attrition Prediction
- Handwritten Character Recognition
- Gradient Descent with Nesterov Momentum
- Gender Age Detection with OpenCV
- Realtime Eye Blink Detection
- Pencil Sketch of a Photo
- Realtime Facial Expression Recognition
- Time Series Forecasting
- Face Comparison
- Credit Card Fraud Detection
- House Price Prediction
- House Budget Prediction
- Stock Prediction
- Email Spam Detection


